Audiocleaner

Audio cleanup guide

How do I make my audio cleaner? Start with these steps

A clear recording starts before you open an editor. This guide covers recording and listening checks; Supavocal offers speech isolation on audio, while click repair, echo correction and level editing require a separate editor.

Continue at Supavocal

Sign in free to upload supported audio (MP3, WAV, M4A, FLAC or OGG; under 10 MiB, up to 10 minutes). Isolate speech from background sound and download the MP3 result. This page does not process or forward your clip.

Limited, one-time welcome credits after signup Sign in to isolate speech
Audiocleaner audio cleanup illustration

Match the cleanup to your recording

The source of the problem matters more than the name of the filter. Listen to a short section before choosing a workflow.

Podcaster

A steady computer fan sits behind a spoken introduction. Find a pause that contains only the fan, then compare the treated voice with the original at the same playback volume.

Reduce the constant bed of noise while retaining the speaker's breath and consonants.
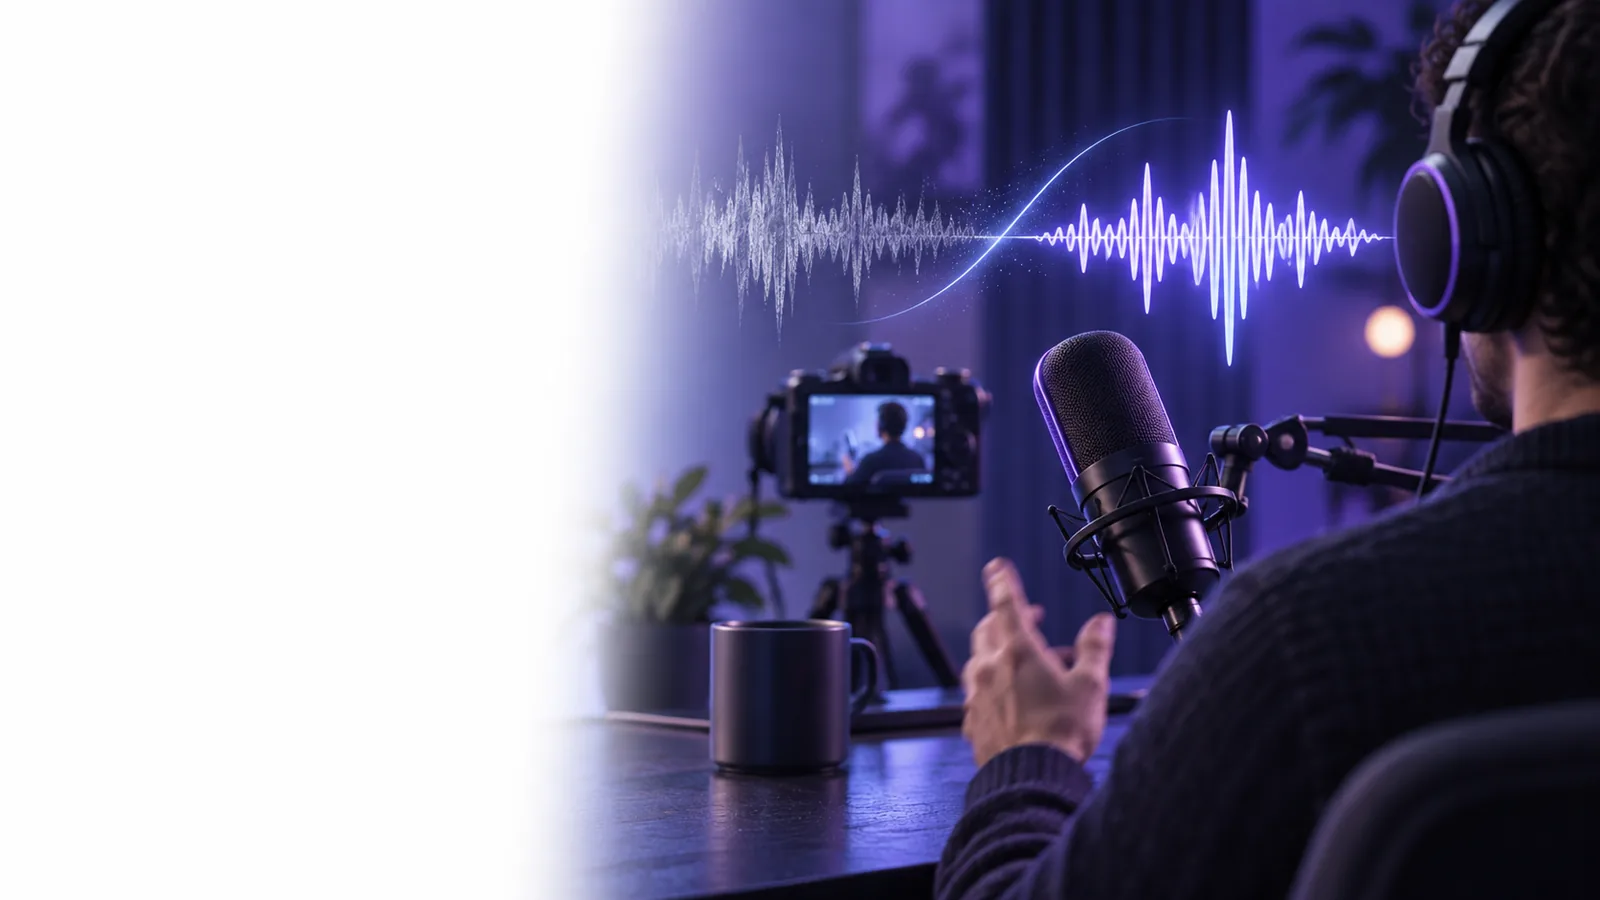
audio cleaner for background noise

Interviewer

One person is quieter than the other, and traffic passes during a few answers. Treat the levels and the passing sounds as separate problems; one broad noise setting may not solve both.

Make each answer easier to follow without pretending the traffic never occurred.

voice cleaner

Teacher

A lesson recording has room echo and a low ventilation hum. Begin with a short test clip so you can hear whether processing improves words or merely makes the room sound unnatural.

Deliver more understandable instruction while accepting that heavy echo may remain.

audio cleaner online free

Video creator

Outdoor narration includes wind hitting the microphone. Separate the sections with light wind from the gusts that cover entire words before deciding what can be repaired.

Keep usable speech and identify lines that would be better rerecorded.

best audio cleaner examples free

numbered steps

Use this order for a first pass. Each step has a listening check so you can stop when the recording is clear enough.

  1. 1

    Improve the source

    If you can record again, move away from fans and hard reflective surfaces. Put the microphone near the speaker without placing it directly in the path of breath, and record a short test. Listen for clipping, hum, wind, and room echo before making the full take. A better source usually needs less processing.

  2. 2

    Save a copy and diagnose

    Keep the original and make a working copy. Listen through headphones at a comfortable level, marking where the noise is steady and where it changes. Select a few seconds that include quiet speech, loud speech, and a pause; this test passage will reveal whether a setting helps the whole recording rather than just its noisiest moment.

  3. 3

    Apply light cleanup

    Try voice isolation to separate speech from background audio, then listen again. Address isolated clicks or bumps in a separate editor if needed. Do not assume a quieter background always means better speech: heavy processing in any editor can smear soft consonants. Compare the processed passage with the original at a similar volume.

  4. 4

    Set levels and review

    Once the noise treatment is acceptable, adjust the output level so speech is comfortable to hear. Check the start, middle, and end, including pauses and the quietest speaker. Listen on headphones and another ordinary playback device if available. Save a separate finished file, then play that file to confirm the export contains the intended recording.

common errors and fixes

An audio cleaner can make a recording easier to hear, but it cannot recover every sound the microphone failed to capture.

1

Speech sounds metallic or watery

Aggressive noise reduction can mistake quiet syllables for noise. The result may have less hiss yet be harder to understand.

What to do instead

Lower the reduction, return to the original copy, and judge the change while the person is speaking—not during silence alone.

2

A loud interruption covers a word

A horn, cough, or gust that overlaps speech may hide information that is not present in the recording. Removing the interruption cannot reliably recreate the missing word.

What to do instead

Use another take if you have one, or rerecord the affected line when accuracy matters.

3

Echo remains after noise removal

Room reflections are copies of the voice arriving later, not simply a steady background sound. A noise filter may leave them intact or make the voice less natural.

What to do instead

Try a modest echo treatment if available; for future takes, record closer to the mic in a softer, less reflective room.

4

The finished file is still hard to hear

Turning up a quiet recording also turns up its remaining noise. Uneven speaker levels can make a single overall volume adjustment insufficient.

What to do instead

Balance noticeably different sections first, then set the final level and check the exported file on normal speakers.

advanced tips

For a closer check, compare equal-volume passages and listen for the parts of speech that cleanup can accidentally remove.

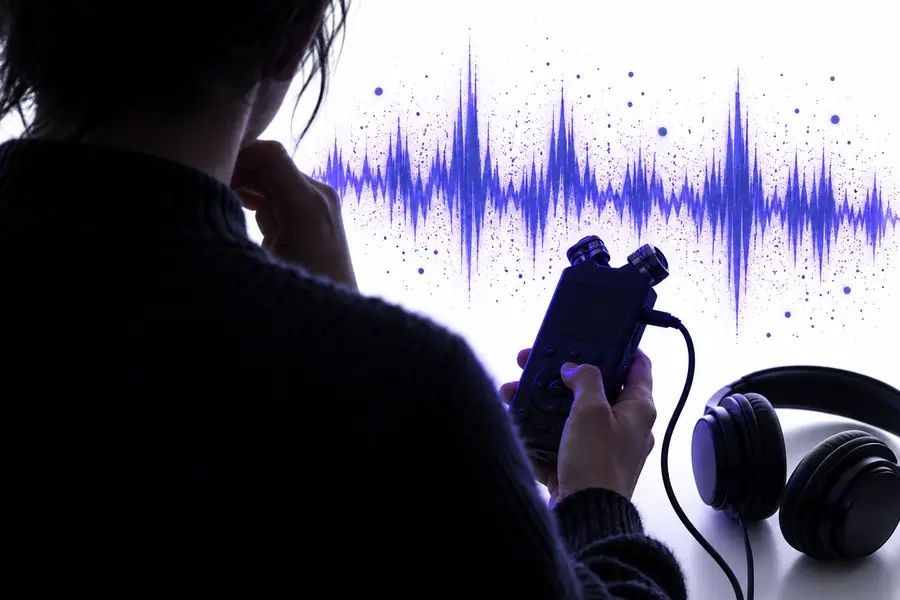
Person reviewing a noisy voice recording before cleanup
Before: identify the noise
Illustration accompanying an audio cleanup workflow
After: check the voice

Illustrative images, not a measured before-and-after result. Compare your own recording by matching playback levels, then listen to soft words, breaths, pauses, and the ending. If speech loses detail, return to the original or try an editor with adjustable controls.

Before: identify the noiseAfter: check the voice

Put the workflow to work

Start with a copy of your recording and describe the sound you want to reduce. Supavocal can isolate the speech, but your ears make the final decision: keep the version that makes words clearer without making the speaker sound artificial.

Make a careful first cleanup pass

  • Keep the original recording
  • Test a short passage first
  • Listen to the exported result
Clean my audio

tutorial FAQ

First improve the recording conditions if another take is possible. Otherwise, save a copy, identify the noise, apply light cleanup, and compare the treated speech with the original at the same volume. Finish by checking the entire exported file.

Yes. Begin with a supported short audio clip and compare the original with the isolated MP3. Supavocal does not expose a noise-reduction strength setting; use a separate editor for adjustable repairs.

Listen for clipping before either adjustment, because clipped speech cannot be restored by raising or lowering volume. For an otherwise intact recording, treat distracting background noise gently before setting the final output level. Raising the level first can make the noise more noticeable while you work.

The reduction may be strong enough to remove quiet parts of the voice along with the noise. Return to the original, or use a separate editor with adjustable noise reduction and compare a section with soft consonants. If the damage remains, the recording may need a new take rather than more processing.

Try isolation
Try isolation